Lila the Little Witch Buddy Amigurumi: Free Crochet Pattern
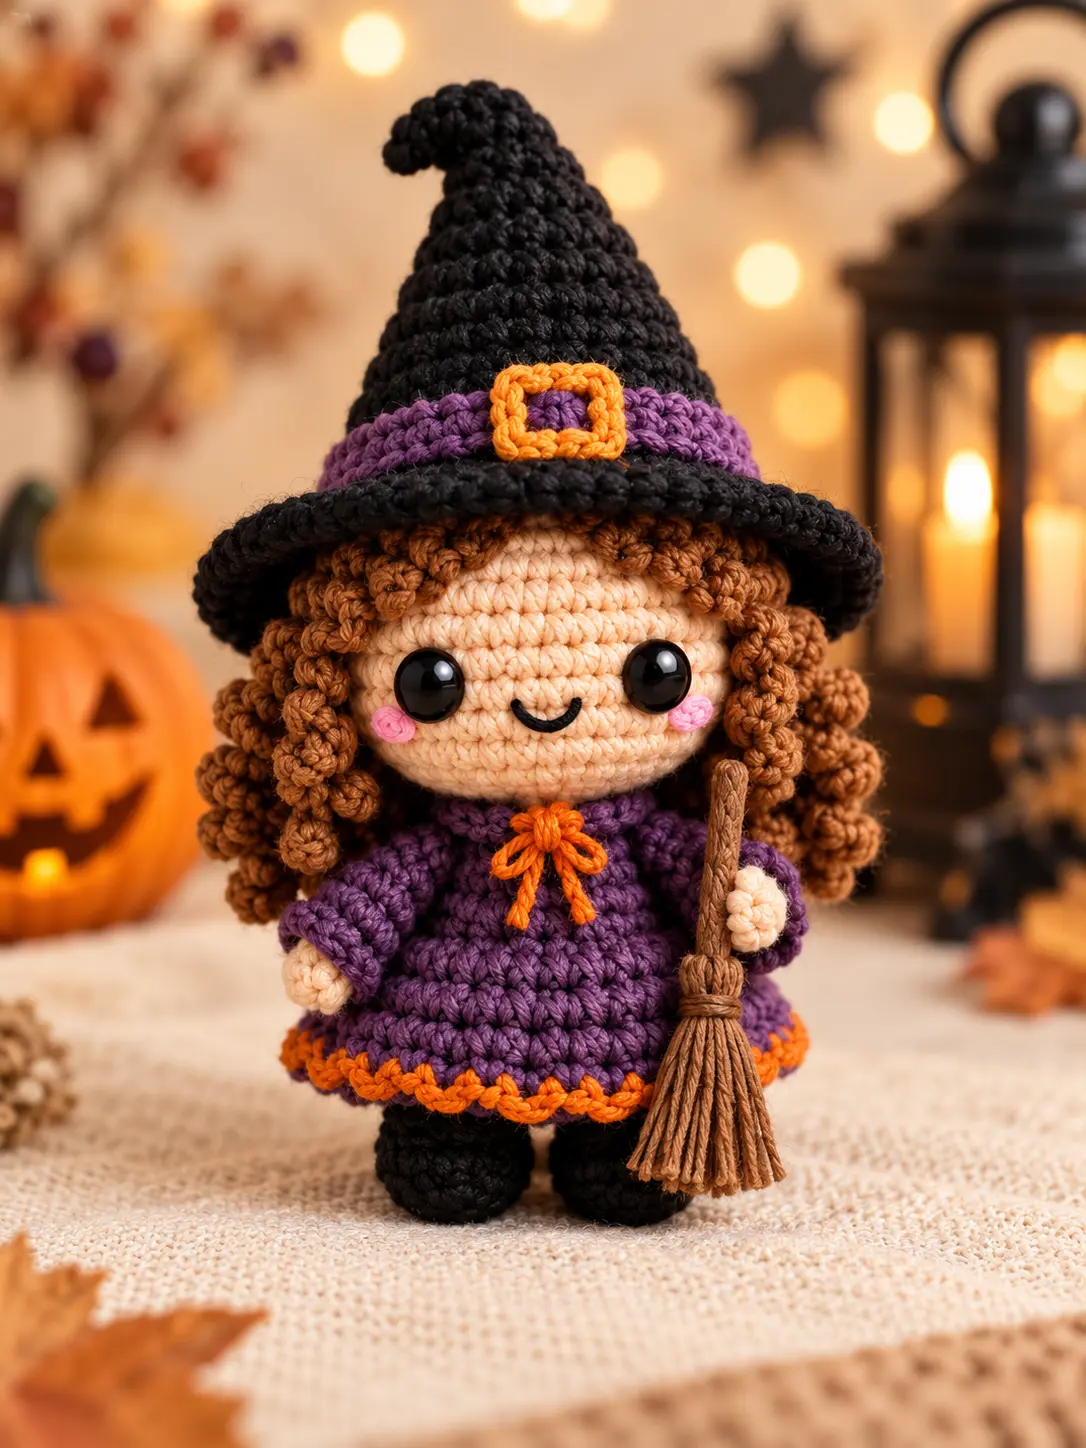
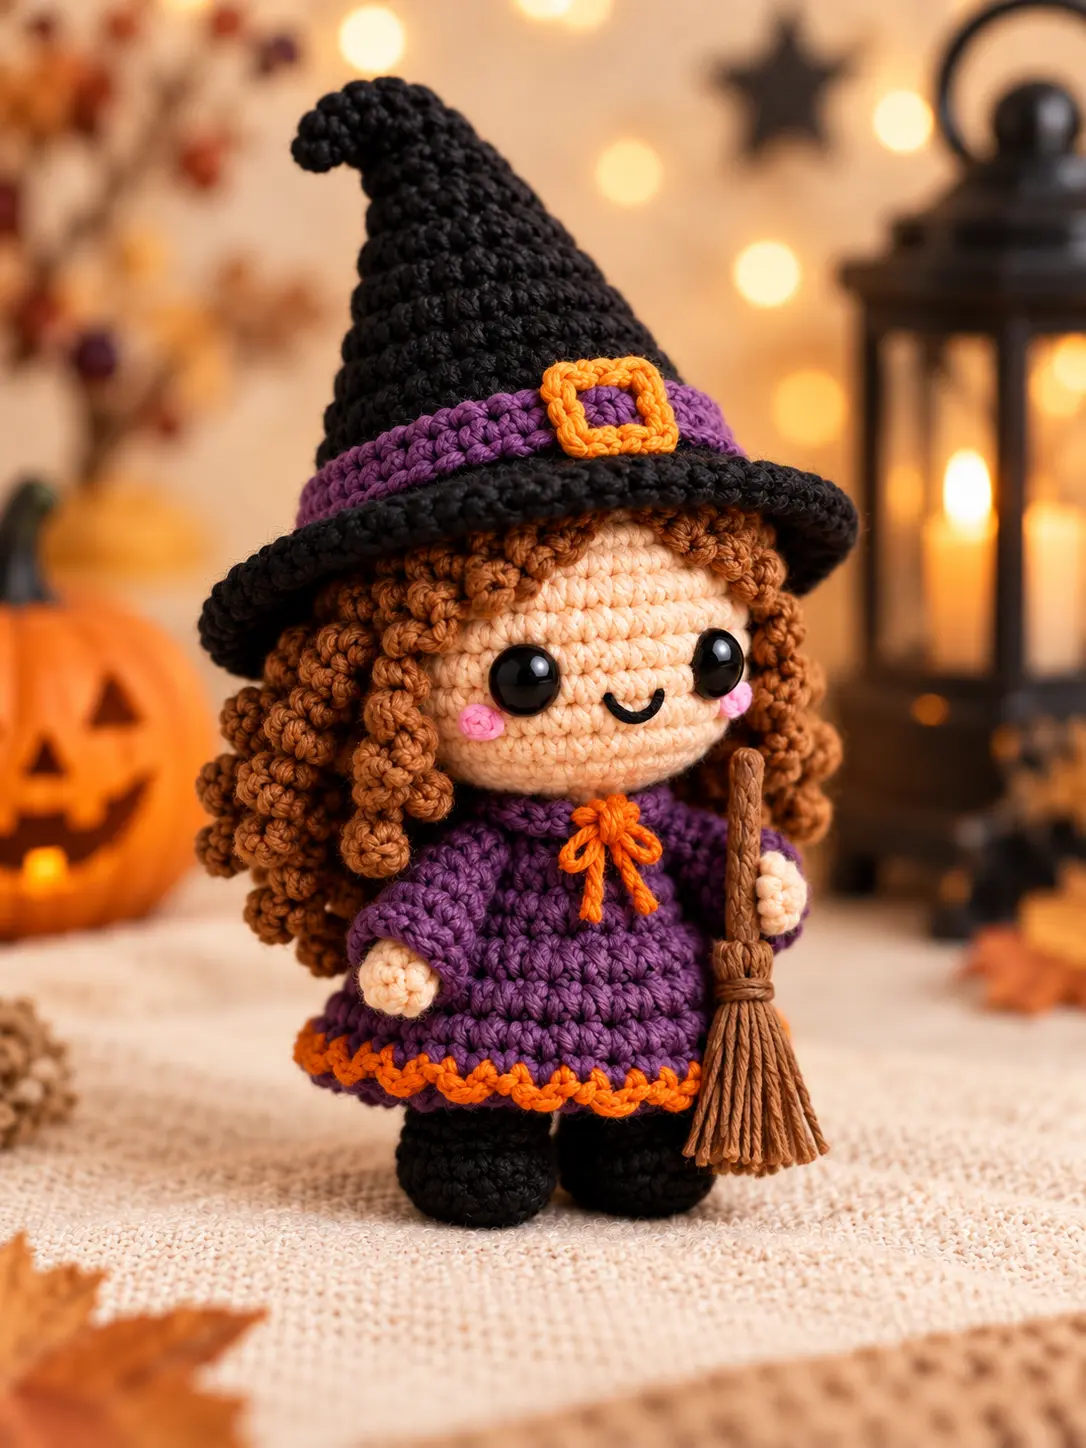
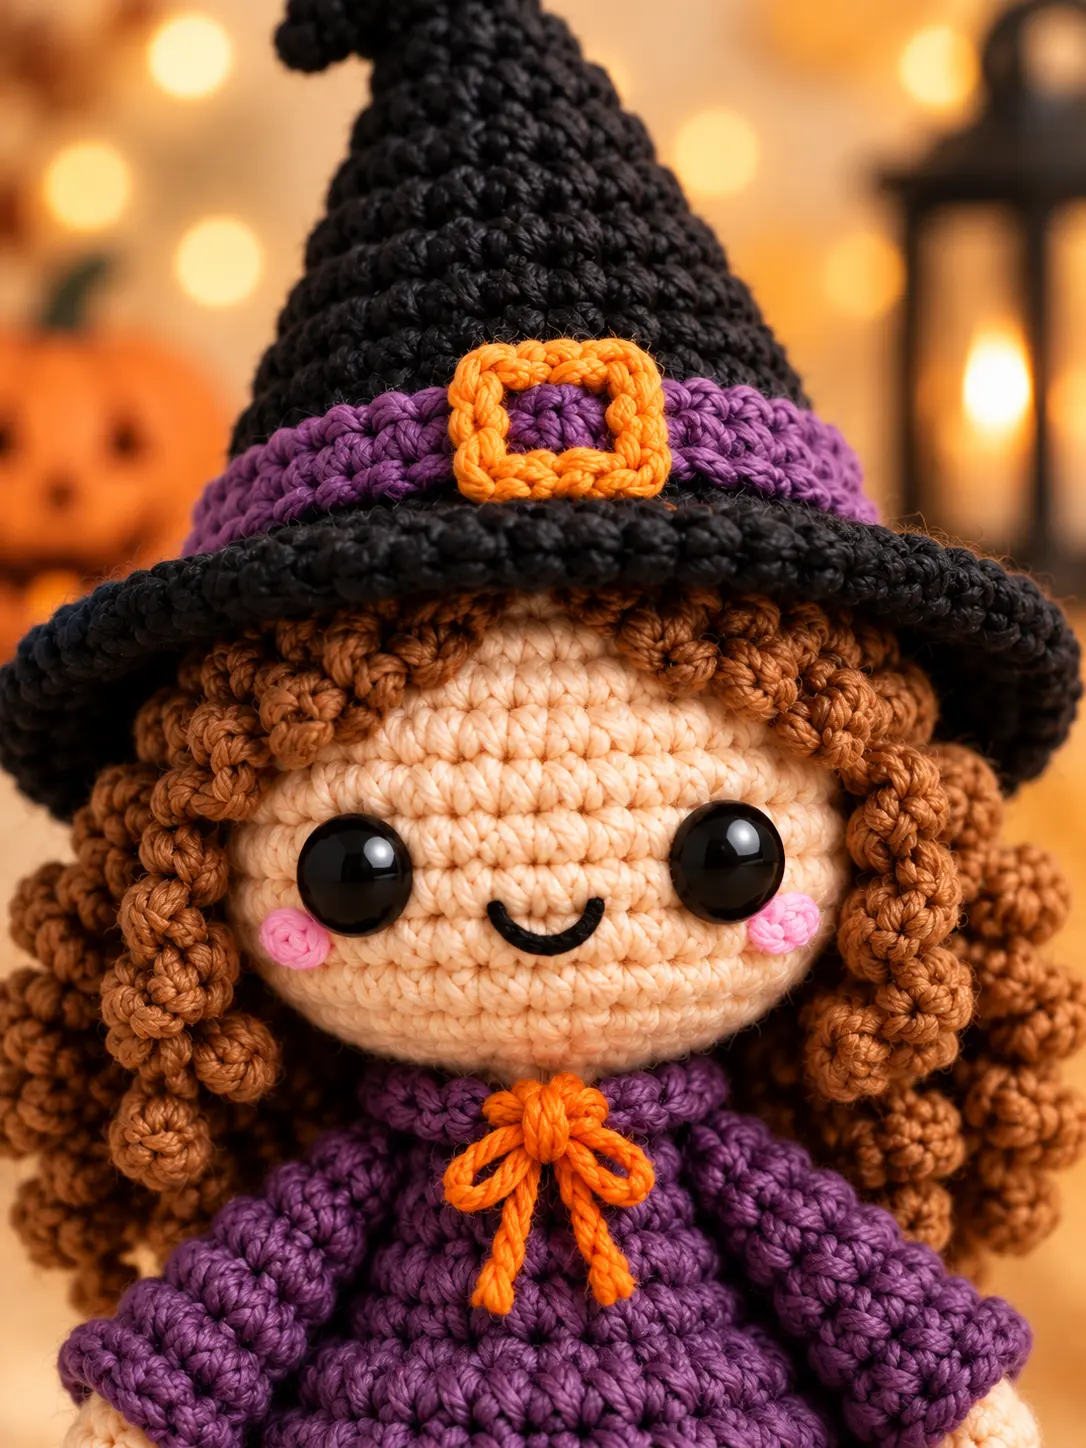
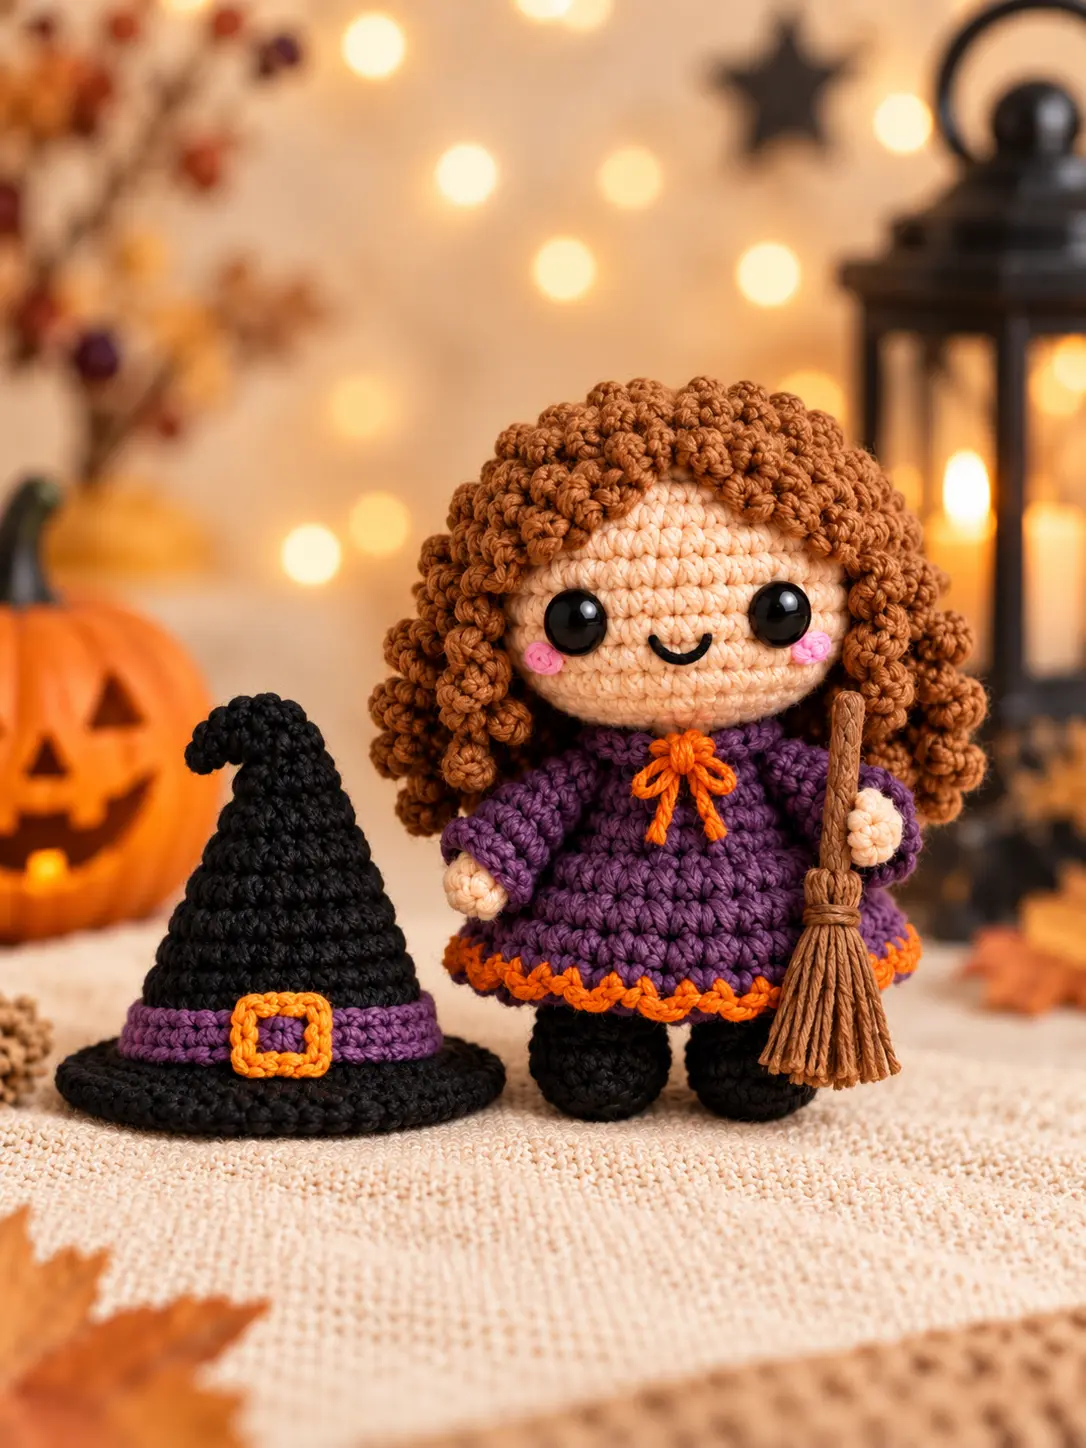
Add a little handmade magic to your Halloween decorations with Lila, a cheerful mini witch with bouncy brown curls, a purple dress, a tall black hat, and her own tiny broom. This free witch amigurumi pattern is full of charming details while still using simple crochet shapes.
Lila is worked in separate pieces and carefully assembled. Her head, body, arms, legs, hair cap, curls, dress skirt, hat, and broom are all explained below with checked stitch counts. The finished doll measures about 10–12 cm (4–4.7 inches), depending on your yarn and tension.
Why You’ll Enjoy This Witch Amigurumi Pattern
This little witch is a lovely project for using small amounts of leftover yarn. The basic pieces use single crochet, increases, and invisible decreases. The spiral curls look detailed, but each one is simply made by working several stitches into a chain.
- Make a small Halloween shelf decoration.
- Add a hanging loop and use her as an ornament.
- Create a handmade gift for an amigurumi fan.
- Use thicker yarn for a larger plush witch.
- Change the dress and hair colors to make your own character.
Skill Level
Confident beginner to intermediate. You should know how to make a magic ring, single crochet, increase, decrease, work in the front or back loop, chain, slip stitch, and sew amigurumi pieces together.
Finished Size
Approximately 10–12 cm (4–4.7 inches) tall when made with DK or light worsted yarn and a 2.5 mm hook. The tall hat adds extra height. Your finished measurement may change with different yarn, hook size, stuffing, or crochet tension.
Materials
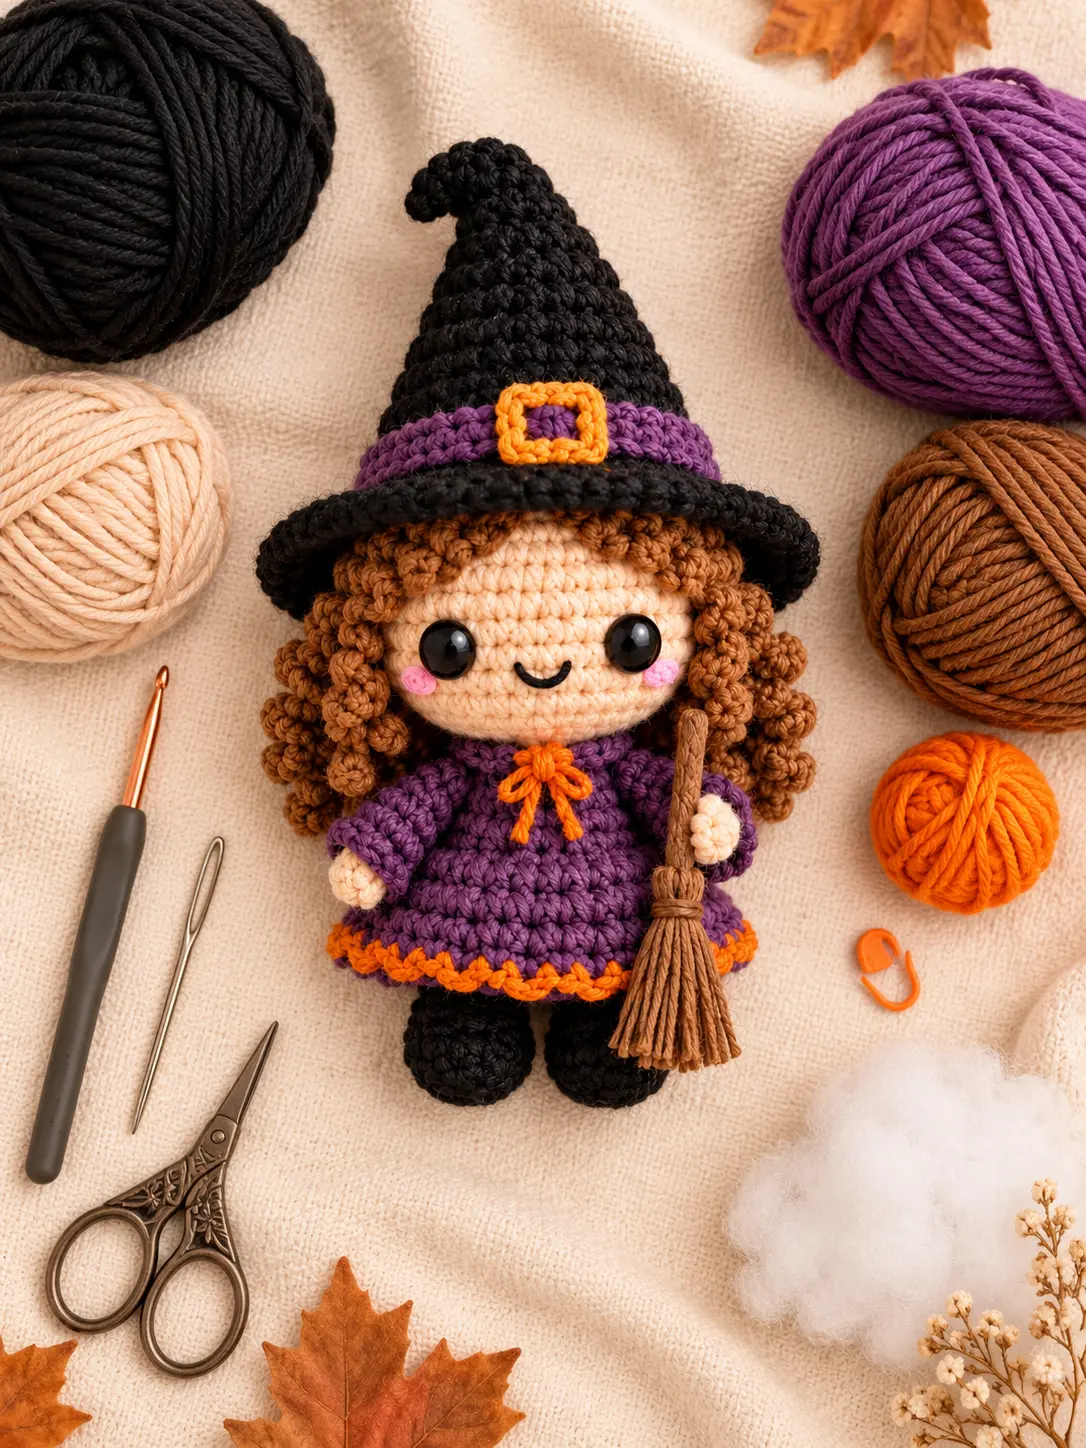
- Beige DK or light worsted yarn for the skin
- Brown yarn for the hair and broom
- Black yarn for the hat and shoes
- Purple yarn for the body, dress, sleeves, and hat band
- Orange yarn for the bow, dress trim, and buckle
- Small amount of pink yarn for the cheeks
- Black embroidery thread for the mouth
- Two 8 mm safety eyes
- 2.5 mm crochet hook
- Polyester fiberfill
- Yarn needle
- Scissors
- Stitch marker
- Sewing pins, optional
Choose yarns of a similar thickness so the pieces fit together. Cotton gives clear stitch definition, while acrylic makes a slightly softer doll.
Abbreviations
This pattern uses US crochet terms.
- MR: magic ring
- ch: chain
- sc: single crochet
- inc: 2 sc in the same stitch
- dec: invisible single crochet decrease
- sl st: slip stitch
- hdc: half double crochet
- dc: double crochet
- BLO: back loop only
- FLO: front loop only
- FO: fasten off
- rnd: round
- st/sts: stitch/stitches
Important Pattern Notes
- Work in continuous spiral rounds unless the pattern says otherwise.
- Mark the first stitch of each round and move the marker upward as you work.
- The number in parentheses is the stitch total at the end of the round.
- Stuff in small pieces to keep the doll smooth and firm.
- Check each stitch count before moving to the next round.
- Leave long yarn tails on pieces that must be sewn.
Head
Use beige yarn.
- Rnd 1: 6 sc in a MR. (6)
- Rnd 2: Inc around. (12)
- Rnd 3: (1 sc, inc) × 6. (18)
- Rnd 4: (2 sc, inc) × 6. (24)
- Rnd 5: (3 sc, inc) × 6. (30)
- Rnd 6: (4 sc, inc) × 6. (36)
- Rnd 7: (5 sc, inc) × 6. (42)
- Rnds 8–14: Sc around. (42)
- Rnd 15: (5 sc, dec) × 6. (36)
- Rnd 16: (4 sc, dec) × 6. (30)
- Rnd 17: (3 sc, dec) × 6. (24)
Place the safety eyes between Rounds 10 and 11 with seven visible stitches between them. Embroider a small curved smile one round below the eyes. Add small pink cheek stitches below and slightly outside each eye. Begin stuffing firmly.
- Rnd 18: (2 sc, dec) × 6. (18)
- Rnd 19: (1 sc, dec) × 6. (12)
- Rnd 20: Dec around. (6)
Finish stuffing. Cut the yarn and pull it through the front loops of the final six stitches. Close the opening and hide the end.
Body
Use purple yarn. Work from the bottom upward.
- Rnd 1: 6 sc in a MR. (6)
- Rnd 2: Inc around. (12)
- Rnd 3: (1 sc, inc) × 6. (18)
- Rnd 4: (2 sc, inc) × 6. (24)
- Rnd 5: BLO, sc around. (24)
- Rnds 6–9: Sc around. (24)
- Rnd 10: (2 sc, dec) × 6. (18)
- Rnds 11–13: Sc around. (18)
Stuff the body firmly, leaving the top surface flat. FO and leave a long tail. Center the body under the head and sew securely around the neck.
Legs and Shoes – Make Two
Use black yarn.
- Rnd 1: 6 sc in a MR. (6)
- Rnd 2: Inc around. (12)
- Rnds 3–4: Sc around. (12)
- Rnd 5: (1 sc, dec) × 4. (8)
- Rnd 6: Sc around. (8)
Add a small amount of stuffing. Flatten each opening and crochet 4 sc through both layers. FO with a long tail. Sew the legs to the underside of the body so the doll stands evenly.
Arms – Make Two
Begin with beige yarn.
- Rnd 1: 6 sc in a MR. (6)
- Rnd 2: Sc around. (6)
- Change to purple.
- Rnds 3–7: Sc around. (6)
Do not stuff, or add only a tiny amount to the hand. Flatten and crochet 3 sc through both layers. FO with a long tail. Sew the arms to the sides of the body around Rounds 11–12. Angle one hand slightly forward so it can hold the broom.
Dress Skirt
Hold the body upside down. Join purple yarn to one of the unused front loops from Body Round 5.
- Rnd 1: (1 sc, inc) × 12. (36)
- Rnds 2–4: Sc around. (36)
- Change to orange.
- Rnd 5: (Sl st, ch 1) in each stitch around to make a small decorative edge.
Join, FO, and weave in the ends. For the neckline bow, use orange yarn to make a small bow and sew it to the center front of the body below the head.
Hair Cap
Use brown yarn.
- Rnd 1: 6 sc in a MR. (6)
- Rnd 2: Inc around. (12)
- Rnd 3: (1 sc, inc) × 6. (18)
- Rnd 4: (2 sc, inc) × 6. (24)
- Rnd 5: (3 sc, inc) × 6. (30)
- Rnd 6: (4 sc, inc) × 6. (36)
- Rnd 7: (5 sc, inc) × 6. (42)
- Rnds 8–10: Sc around. (42)
FO with a long tail. Place the cap on the head with the lower edge sitting around Round 11 at the back and slightly higher across the forehead. Pin and sew it in place.
Spiral Curls
Make 20–24 curls in brown. Vary their lengths slightly for natural-looking hair.
- For a short curl: Ch 13, then work 2 sc in the second chain from the hook and in every remaining chain.
- For a long curl: Ch 17, then work 2 sc in the second chain from the hook and in every remaining chain.
The stitches will twist into a spiral by themselves. FO with sewing tails. Attach the curls around the outside edge of the cap, then add a second row where needed. Leave the center top fairly flat so the hat sits properly.
Witch Hat
Use black yarn. Work from the tip down.
- Rnd 1: 4 sc in a MR. (4)
- Rnd 2: Sc around. (4)
- Rnd 3: (1 sc, inc) × 2. (6)
- Rnd 4: Sc around. (6)
- Rnd 5: (2 sc, inc) × 2. (8)
- Rnd 6: Sc around. (8)
- Rnd 7: (3 sc, inc) × 2. (10)
- Rnd 8: Sc around. (10)
- Rnd 9: (4 sc, inc) × 2. (12)
- Rnd 10: Sc around. (12)
- Rnd 11: (5 sc, inc) × 2. (14)
- Rnd 12: Sc around. (14)
- Rnd 13: (6 sc, inc) × 2. (16)
- Rnd 14: Sc around. (16)
- Rnd 15: (7 sc, inc) × 2. (18)
- Rnd 16: (2 sc, inc) × 6. (24)
- Rnd 17: (3 sc, inc) × 6. (30)
- Rnd 18: BLO, sc around. (30)
Do not stuff the hat. The narrow tip can be bent to one side and held with one small hidden stitch.
Hat Brim
Join black yarn to the unused front loops from Round 17.
- Brim Rnd 1: (4 sc, inc) × 6. (36)
- Brim Rnd 2: (5 sc, inc) × 6. (42)
- Brim Rnd 3: Sc around. (42)
Join with a sl st, FO, and weave in the end. Shape the brim gently with your fingers.
Purple Hat Band
With purple yarn, ch 31. Beginning in the second chain from the hook, make 30 sc. FO with a long tail. Wrap the band around the hat above the brim, join the short ends at the back, and secure it with a few small stitches.
Orange Buckle
With orange yarn, ch 10 and join to the first chain with a sl st. Sl st once in each chain around. FO with a sewing tail. Shape the ring into a small square and sew all four corners to the center front of the purple band.
Crochet Broom
Use brown yarn. For a soft, child-friendly handle, ch 26. Beginning in the second chain from the hook, sl st in each chain. FO and weave the starting tail through the handle to make it slightly firmer.
Cut 10–12 strands of brown yarn, each about 8 cm long. Fold them in half around one end of the handle. Wrap another piece of brown yarn several times around the folded strands, about 1 cm below the fold. Knot firmly and hide the ends. Trim the bristles evenly. Sew the handle to one hand with matching yarn.
Final Assembly
- Sew both black legs firmly to the bottom of the body.
- Sew the body to the center underside of the head.
- Attach the arms evenly to the sides of the body.
- Sew the hair cap to the head and attach the spiral curls.
- Add the orange bow at the neckline.
- Place the hat over the hair. Leave it removable or sew the underside of the brim to the head with small black stitches.
- Secure the broom to one hand.
- Check every piece and hide all loose yarn ends.
Gently shape the hat, hair, dress, and shoes. Make sure the legs sit flat and the doll stands without leaning. Your Lila Little Witch Buddy is finished!
Helpful Tips
Keep the Hat Removable
Do not stuff the hat, and avoid placing too many curls at the very top of the head. This helps the opening sit neatly over the hair.
Make Even Curls
Keep your tension relaxed while making the chain. If a curl feels too tight, gently twist it in the natural direction of the spiral.
Pin Before Sewing
Pin the body, legs, arms, and hair in place first. Look at the doll from the front and both sides before making permanent stitches.
Ways to Customize Lila
- Use green, burgundy, or midnight-blue yarn for the dress.
- Make blonde, black, red, or multicolored spiral hair.
- Add a tiny embroidered star to the hat.
- Leave off the broom and give her a mini crochet pumpkin.
- Add a hanging loop to create a Halloween ornament.
- Use plush yarn and a larger hook for a soft, huggable version.
Frequently Asked Questions
Is this pattern suitable for beginners?
It is best for a confident beginner. The crochet stitches are simple, but the project includes several small pieces and careful sewing.
Why is my doll a different size?
Yarn thickness, hook size, tension, and stuffing all affect the final size. This is normal as long as the fabric is firm and the pieces fit together.
Can I embroider the eyes?
Yes. Securely embroidered black eyes are recommended when making the doll for a child younger than three years old.
Can I make the hat permanent?
Yes. Use black yarn to make several small stitches through the underside of the brim, hair cap, and head. Space the stitches evenly so the brim keeps its shape.
Can I sell finished dolls?
You may sell finished handmade dolls in small quantities. Use your own photos when listing your work.
Safety Note
Plastic safety eyes and loose decorations can be choking hazards. For a child under three, embroider the eyes and facial details and make a fully crocheted broom. Check that every piece is firmly attached before giving the toy to a child.